

Making your own e-liquid can be a fun and rewarding experience, and it allows you to create your own unique blend of flavors and nicotine levels. Whether you’re a seasoned vaper or a beginner, this article will guide you through the process of making your own e-liquid, including the ingredients and equipment you’ll need.
Ingredients
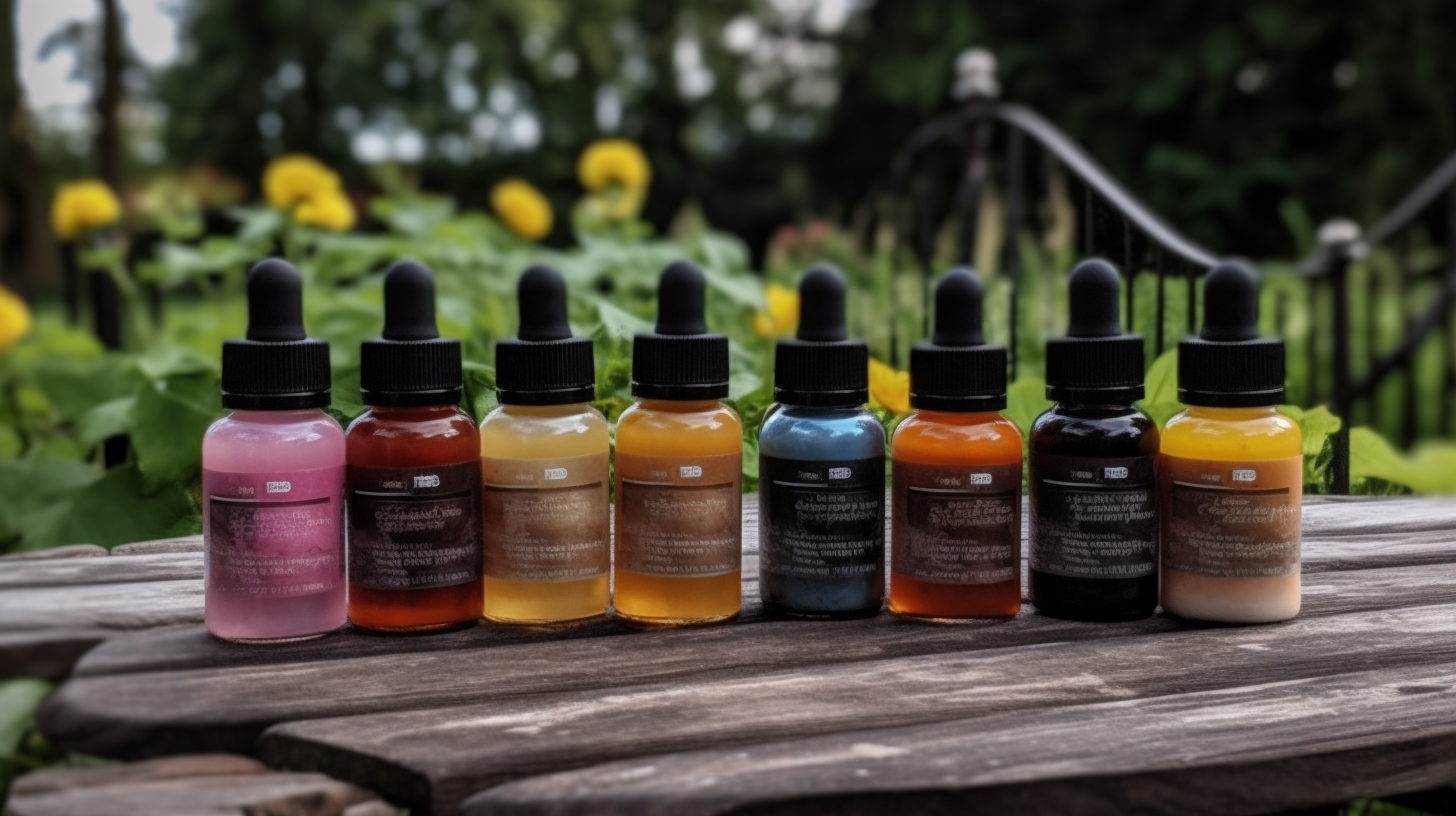
The main ingredients in e-liquid are propylene glycol (PG), vegetable glycerin (VG), flavorings, and nicotine. PG and VG are the base liquids that make up the bulk of the e-liquid, while flavorings and nicotine are added to create the desired taste and nicotine level. You can purchase these ingredients from many online retailers that specialize in DIY e-liquid supplies.
It’s important to use high-quality ingredients when making your own e-liquid, as this will ensure that your e-liquid is safe and enjoyable to use. For example, you should use food-grade PG and VG, as well as high-quality flavorings and nicotine that are specifically designed for use in e-liquids. You can also choose to use organic or natural ingredients if desired.
Equipment
In addition to ingredients, you’ll need some basic equipment to make your own e-liquid. You’ll need a mixing container, such as a glass bottle or jar, to mix your ingredients in. You’ll also need a syringe or dropper for measuring out your ingredients, as well as a set of scales for accurately measuring the amounts of each ingredient.
You may also want to invest in a e-liquid calculator, which can be found online for free. These calculators make it easy to determine the correct amounts of each ingredient, and they also provide helpful tips and suggestions for making your e-liquid. With a little bit of practice, you’ll be able to create your own unique blends of e-liquid with ease.
Step-by-Step Guide
Making your own e-liquid is a simple process, and it can be done in just a few steps. Here’s a basic guide to help you get started:
- Gather all of your ingredients and equipment.
- Use a e-liquid calculator to determine the correct amounts of each ingredient for your desired nicotine level and flavor strength.
- Measure out your ingredients using a syringe or dropper, and add them to your mixing container.
- Shake or stir your ingredients to ensure that they are well mixed.
- Allow your e-liquid to steep for several hours or up to several days, depending on the flavors you have used. Steeping allows the flavors to fully develop and the e-liquid to reach its optimal taste.
- Once your e-liquid has steeped, it’s ready to be used. You can store it in a clean, airtight container and use it as you would any other e-liquid.
Conclusion
Making your own e-liquid is a fun and rewarding experience, and it allows you to create your own unique blend of flavors and nicotine levels. With the right ingredients and equipment, you can easily make your own e-liquid in just a few steps. Whether you’re a seasoned vaper or a beginner, try making your own e-liquid today and see how you can personalize your vaping experience.